TIME REQUIRED: 1 Hour | DIFFICULTY: Average
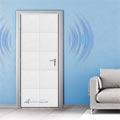
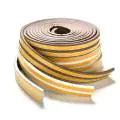
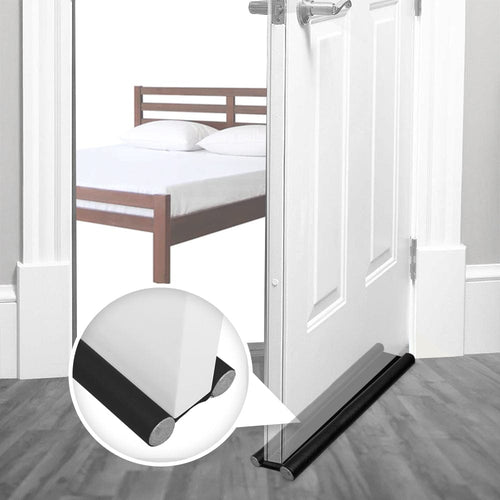
If you're playing in a different room and streaming online, then you might consider the obvious choices for your walls or door acoustic treatment. It is pretty easy to insulate the walls, even though you have never done it before. Installing acoustic foams and adhesive tapes are two of the most common methods of doing this.
SinhalaTech is one YouTube technology creator who has tried our product which is the Arrowzoom Black and Blue Wedge Acoustic Foams. He was still happy and had no issues with his set-up. As he started recording YouTube videos, however, he found that in his room he usually gets too much echo. He started getting all those needless noises in his videos after he removed a lot of stuff in his gaming room.
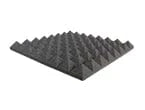
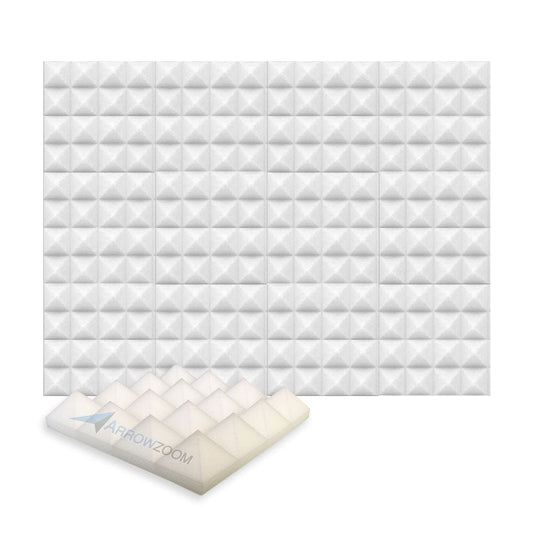
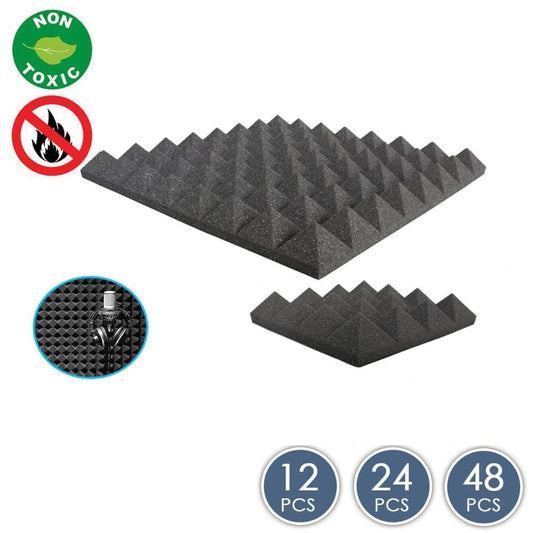
In this case, acoustic foam is handy! It enables your choice of room to significantly enhance the acoustics. It has the inherent capacity to consume a proportion of sound wave power. This results in the effects of reflections, echoes, reverberation, and indirect sound waves being greatly decreased.

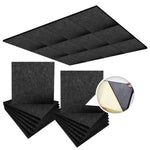
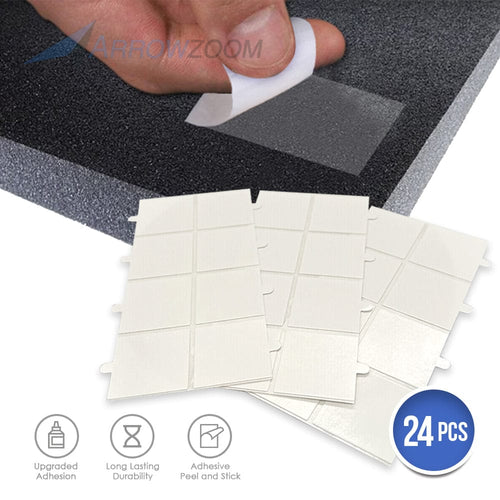
1. On the 4 Corners of the Foam, peel the Sticky Tabs and press
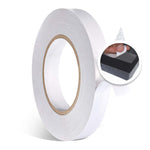
Before the adhesive tape is applied, make sure that the surface you apply the tape to is fully dry and free of any debris. Be careful not to contaminate the adhesive by touching it with your fingers at all during this process, as it will move natural oils to the adhesive hand. Often, attempt to tie the tape to the surface immediately without trapping air between the tape and the surface to which it is applied.
To achieve optimum bond strength, use some application pressures. Make sure there is no distance between the tape and the surface on which it is applied to allow water over time to come into contact with the tape's adhesive side. The adhesive will deaden this and shorten the life span of the tape.

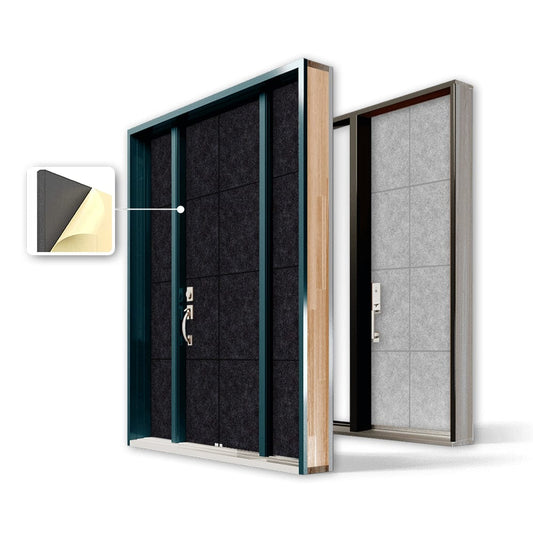
2. On the Wall or Door Section, add Acoustic Foam
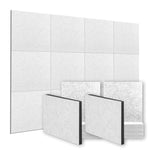
You can now start installing all the foams in the area where you want them to be positioned after placing the tapes on the wedge foams. Be sure to properly press it against the wall so that it won't inevitably break. In the corner of the field, carefully line up your acoustic foam panel
You will like the audio quality of all the recordings, videos, or streaming that you will make after doing these two simple steps because it will be more strong and lightweight.


