


While you can rent time in a studio space to have your own audio recorded in a sound booth, the cost can be detrimental to a budget to use such spaces. In order to soften the cost, many filmmakers and video producers capture the voice-over on their own. The problem is still the need for a space to record this audio. Luckily, most of us have closet space available.
Just like Renegade Media Group, a YouTube channel with 258,000+ followers, consist of: Nathan Hamilton, Micah Salyer, Nic Owen, Chad Bartlett, Jacob Hart, and Quinn Tate, did a DIY video and test on how they transformed their closet into a sound recording booth. Let’s see what’s needed to turn a closet into your very own DIY sound booth.

1. Find A Small Closed Space
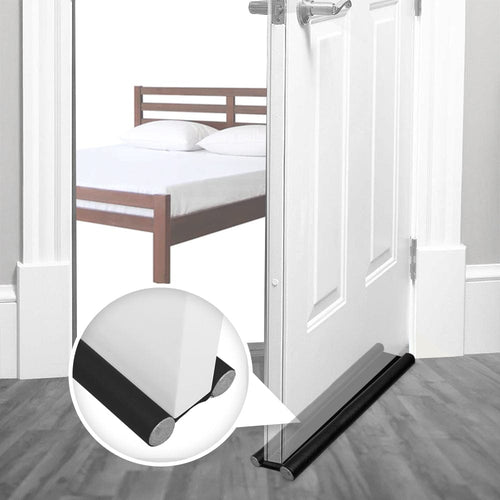
The very first thing you need is space. You can use a hall closet, linen closet, or pantry for this space. A closet beneath stairs is a great place to start as well. No need for anything huge, just enough space to fit one person comfortably. Once the space has been decided upon, declutter and clear up the space. You may have to remove shelving or racks in order to maximize the space. You definitely want your surfaces to be flat for the next step.

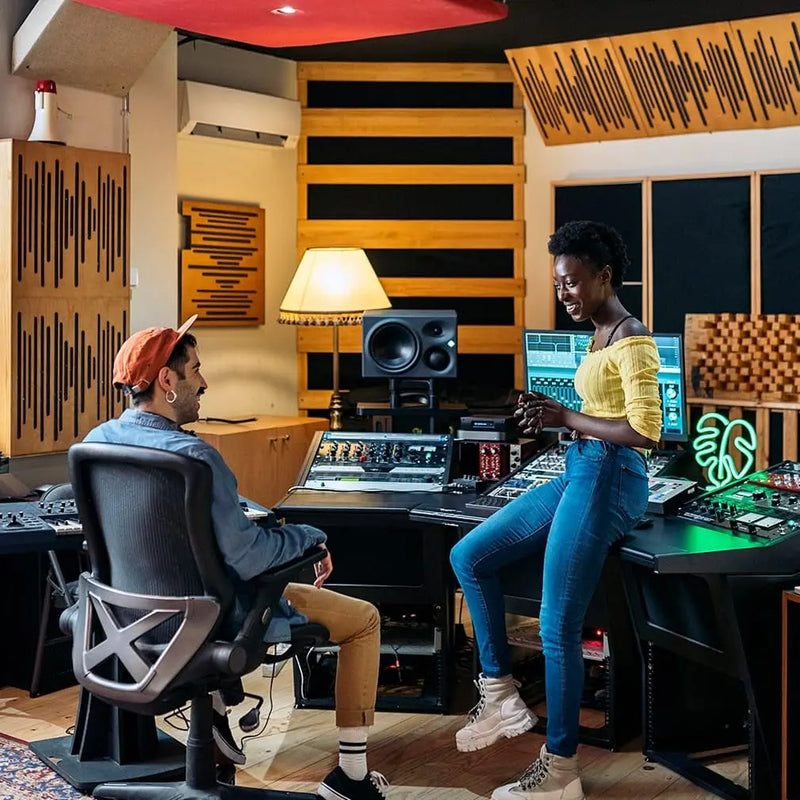
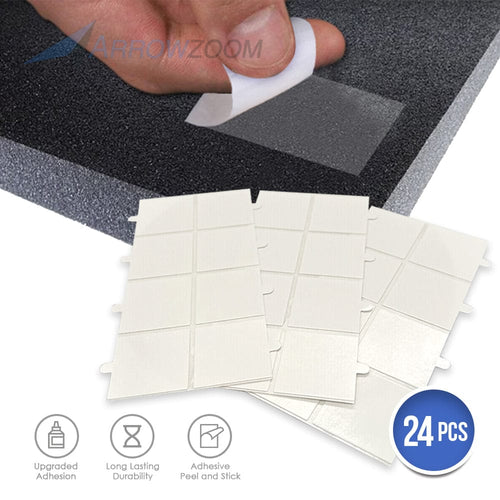
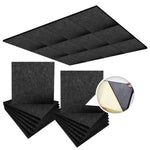
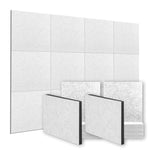
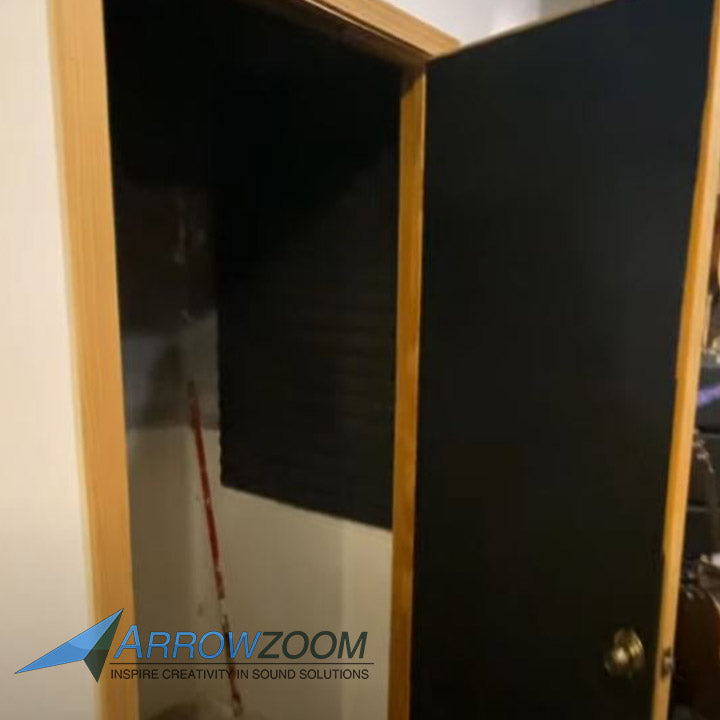
2. Soundproof the Space
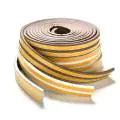
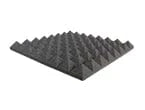
Your can find several types of Acoustic Foam to help you with your DIY Project. You can go for best selling items such as Pyramid or other styles of foam. Make sure to measure the wall where these panels will be installed and to get the correct number of pieces to ensure proper coverage.

3. Gather Your Equipment and Test
Now that your space has been soundproofed, you can gather your mic or recording device and start recording!